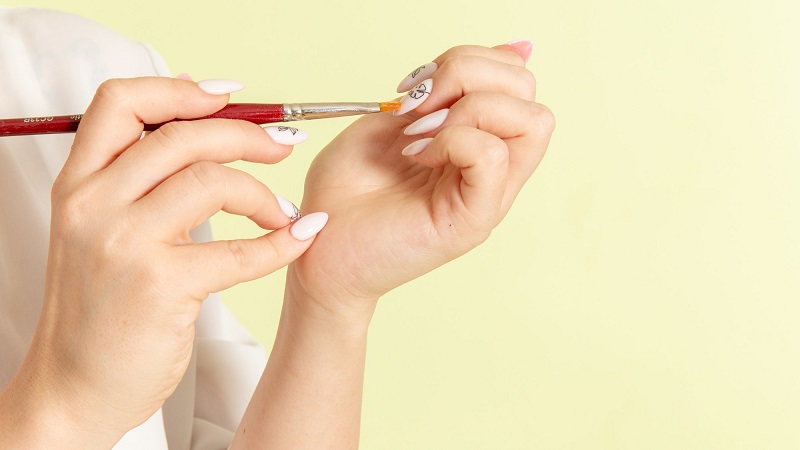
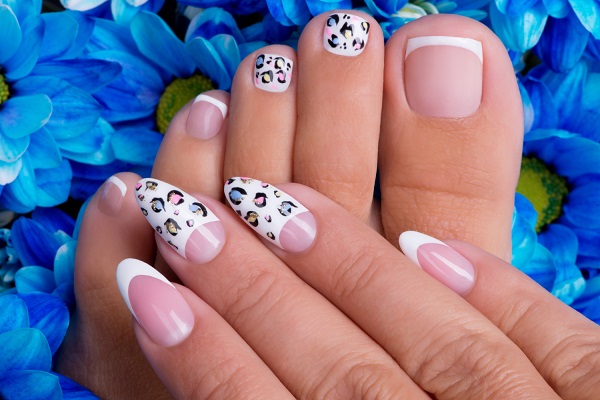
Are you tired of paying hefty bills at the nail salon just to get your nails done? Well, fret no more because I’m here to teach you, how to do nail art at home! With a few simple steps and some creativity, you’ll be able to achieve salon-like results without breaking the bank. So, roll up your sleeves and let’s get started!
How To Do Nail Art at Home? – Simple Method
Nail Art Basics:
Before we dive into the step-by-step process, let’s go over some nail art basics. These are essential tools and techniques that will set you up for success:
Tools You’ll Need:
- Nail polish in various colours
- Nail art brushes
- Nail dotting tool
- Striping tape
- Nail art stencils or stickers
- Nail file and buffer
- Cotton swabs and nail polish remover
- Clear topcoat
Step 1: Prep Your Nails:
Before you start painting, it’s important to prep your nails for the nail art. Follow these simple steps:
- Remove any old nail polish using a cotton swab and nail polish remover.
- Trim and shape your nails using a nail file.
- Use a buffer to gently smooth the surface of your nails.
- Clean your nails with some nail polish remover to remove any oils or residues.
Step 2: Apply the Base Coat
Applying a base coat is crucial as it protects your nails from staining and helps the nail art last longer. Follow these steps:
- Apply a thin layer of base coat to each nail.
- Allow the base coat to dry completely before moving on to the next step.
Step 3: Get Creative with Nail Art
This is where the fun begins! Let your creativity shine by experimenting with different nail art techniques:
- Choose a nail polish colour for the base and apply it evenly to each nail. Let it dry.
- Use striping tape to create geometric designs or perfect lines. Place the tape on the desired area and apply a different colour of nail polish.
- Dip a nail art brush into a contrasting colour and create intricate designs like flowers, hearts, or stars.
- Dip a dotting tool into a different nail polish colour and create dots of various sizes and patterns.
- If you have nail art stencils or stickers, apply them to your nails and paint over them. Once dry, carefully remove the stencil or sticker to reveal a stunning design.
- Don’t be afraid to mix and match techniques to create unique nail art styles.
Step 4: Seal the Deal with a Topcoat
To ensure your nail art lasts longer and looks shiny, apply a topcoat. Here’s how:
- Apply a thin layer of clear topcoat to each nail, covering the entire nail surface and the nail art design.
- Allow the topcoat to dry completely.
Techniques To Master:
- Base Coat: Always start with a base coat to protect your nails and help the polish adhere better.
- Colour Blocking: This technique involves applying different colours to different sections of the nail for a bold and eye-catching look.
- Gradient/Ombre: Create a beautiful gradient effect by blending two or more colours.
- Dotting: Use the dotting tool to create intricate designs like polka dots, flowers, or even galaxies.
- Striping: Apply striping tape to create clean and straight lines or use a thin brush to freehand stripes.
- Stamping: Nail art stamps are a quick and easy way to transfer intricate designs onto your nails.
Now that you’re familiar with the essentials, let’s move on to the step-by-step process.
Congratulations! You’ve just mastered the art of doing nail art at home. With a little practice and creativity, you can create stunning designs that will leave everyone envious of your nails. So, next time you’re in the mood for a manicure, grab your favourite nail polishes and let your imagination run wild. Remember, the sky’s the limit when it comes to nail art!
Nail Art Tips: Expert Advice for Beautiful Nail Designs
Are you looking to level up your nail game? Want to create stunning and unique nail art designs? Well, you’ve come to the right place! In this article, we will provide you with expert nail art tips that will help you elevate your nail art skills to the next level. From choosing the right tools to mastering different techniques, we have got you covered. So grab your favourite nail polish and let’s dive in!
Nail Art Tips for Beginners:
If you are new to the world of nail art, don’t worry! With a little practice and the right guidance, you can create beautiful designs with ease. Here are some essential tips for beginners:
1. Start with Simple Designs:
When starting, it’s best to begin with simple and easy-to-do designs. Choose patterns with minimal lines and shapes to get comfortable with the process. As you gain confidence, you can gradually move on to more intricate designs.
2. Invest in Quality Tools:
Investing in good quality tools is essential for creating professional-looking nail art. Purchase a fine brush, dotting tools, and a good quality topcoat to achieve precise lines and long-lasting designs.
3. Practice Proper Nail Care:
Before you start creating nail art, make sure your nails are in good condition. Trim and shape them to your desired length and file away any rough edges. Apply a base coat to protect your nails from staining and nourish them with cuticle oil for healthier-looking results.
Advanced Techniques for Nail Art Enthusiasts:
If you are already familiar with basic nail art techniques and want to take your skills to the next level, try these advanced tips:
1. Experiment with Different Nail Shapes:
Take your nail art to a new dimension by experimenting with different nail shapes. From almond-shaped to stiletto nails, each shape offers endless possibilities for unique designs. Find the shape that suits your style and let your creativity flow!
2. Incorporate Nail Stamps and Stencils:
Nail stamps and stencils are great tools for creating intricate designs with ease. These handy tools allow you to transfer beautiful patterns onto your nails effortlessly. Explore various stamping plates and stencils to add a touch of elegance to your nail art.
3. Mix and Match Colors and Textures:
Playing with colours and textures can give your nail art a unique and eye-catching appeal. Experiment with different nail polish finishes, such as matte, metallic, or holographic, and combine contrasting shades to create stunning designs that pop!
Maintaining Your Nail Art:
Once you have created your masterpiece, it’s important to take proper care of your nail art to ensure it lasts. Here are some tips for maintaining your nail art:
1. Apply a Topcoat Regularly:
To protect your nail art from chipping and to make it last longer, apply a topcoat every few days. This will help seal the design and keep it looking fresh and vibrant.
2. Avoid Using Your Nails as Tools:
Using your nails as tools can cause your nail art to chip or break. Avoid using them to open cans, peel off stickers, or scratch surfaces. Instead, use the appropriate tools to preserve the integrity of your nail art.
3. Moisturize and Protect Your Nails:
Keep your nails and cuticles moisturized by regularly applying a nourishing oil or cream. This will prevent your nails from drying out and help maintain the longevity of your nail art.
With these expert nail art tips, you are ready to create stunning and unique designs that will make heads turn. Whether you are a beginner or an experienced nail art enthusiast, the key is to practice, experiment, and have fun! Remember, your nails are like a canvas, and the possibilities are endless. So go ahead, unleash your creativity, and showcase your unique style through beautiful nail art!


